Frustrated with bottle defects, production delays, and wasted money? These issues often stem from small oversights early on. The key is preventing problems before your production line even starts.
The best way to prevent PET bottle blowing problems is to focus on proactive planning. This includes detailed bottle design analysis, pre-manufacturing simulations, and verifying that your blow bottle mold is perfectly compatible with your specific bottle blowing machine and auxiliary equipment before you ever start production.

I've spent 16 years in the PET packaging industry, and I've seen it all. Costly mistakes, production halts, and huge amounts of wasted resources often come down to a lack of communication and foresight. It’s like building a house without checking the blueprint. You might end up with a structure, but it’s full of problems. This guide is built on those years of experience, designed to walk you through the critical checkpoints that will save you time, money, and headaches. Let’s dive into how you can get it right from the very beginning.
Should you design bottles with proper stretch ratios and wall thickness?
Designing a bottle that looks good is easy, but what if it collapses or deforms easily? Poor structural design leads to weak bottles, customer complaints, and potential damage to your brand's reputation.
Absolutely. Proper stretch ratios and balanced wall thickness are the foundation of a strong, stable PET bottle. This ensures the bottle not only forms correctly during blowing but also withstands the pressures of filling, capping, transport, and consumer use without failing.

The Foundation of a Good Bottle
When we talk about stretch ratios, we are looking at how much the PET preform is stretched in two directions: axially (lengthwise) and radially (widthwise). Think of it like blowing up a long, thin balloon. You need it to expand both down and out to get the right shape. If you stretch it too much in one direction and not enough in the other, you get weak spots. For PET, the material needs to be stretched enough to cause "strain hardening," a process that aligns the polymer chains and gives the bottle its strength and clarity. If the ratios are off, you can get hazy sections, thin walls that puncture easily, or thick sections that waste material and can cause other defects.
I once worked with a client on a new water bottle design. They wanted a very sleek, sharp-edged rectangular shape. It looked fantastic on paper. However, the initial design had extremely high stretch ratios in the corners. They were focused only on the appearance. We knew this would be a problem. The sharp corners would become very thin and brittle during blowing, while the flat panels would be too thick. We had to explain that a slight softening of the corners, almost invisible to the consumer, would make the wall thickness much more uniform. It took some convincing, but by adjusting the design for a more balanced stretch, we created a bottle that was not only robust but also used less material, saving them money on every single bottle produced. This is where experience with the material science of PET becomes critical. A good design is a balance between marketing's vision and the physical limitations of the material.
| Design Element | Why It's Important | Common Mistake |
|---|---|---|
| Axial Stretch Ratio | Determines vertical strength and material distribution. | Stretching too much can make the base too thin. |
| Radial Stretch Ratio | Controls hoop strength and stability. | Uneven stretching creates weak spots in the bottle walls. |
| Wall Thickness | Ensures overall durability and performance. | Focusing on weight reduction so much that the walls become too thin to withstand top-load or pressure. |
| Base Design | Critical for withstanding carbonation pressure and stability. | A "petaloid" base for CSD must be designed perfectly to avoid stress cracking. |
Should you simulate blowability before mold manufacturing?
Ordering a mold is a huge investment. What if you spend thousands on a blow bottle mold, only to find out the bottle design is impossible to produce consistently? This is a costly and entirely avoidable risk.
Yes, a blowability simulation is a critical, non-negotiable step. Using specialized software, we can predict how the PET material will stretch and form. This allows us to identify and fix potential defects like thin spots or uneven thickness before any metal is ever cut.
Predicting the Future of Your Bottle
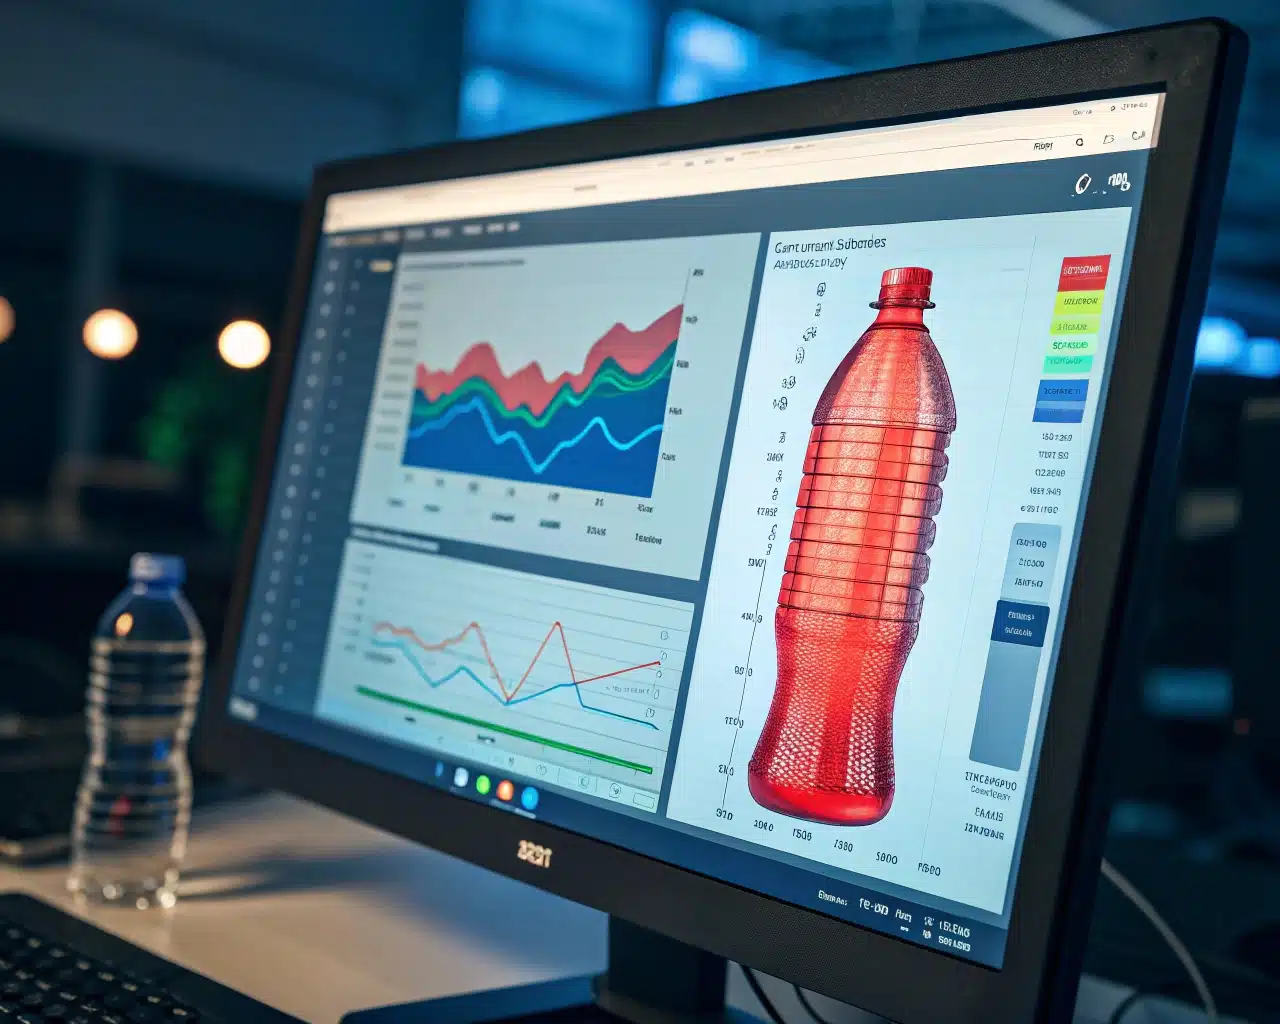
A blowability analysis is like having a crystal ball for your production process. Before you commit to the high cost of a production mold, this simulation can save you from a design that is doomed to fail. The software takes the 3D model of your bottle and the specifications of the preform you plan to use. It then simulates the entire blowing process, from the heating of the preform to the final high-pressure stretch inside the mold cavity. The result is a detailed map of the final bottle's predicted wall thickness. It highlights potential problem areas in bright red for "too thin" and cool blue for "too thick."
This isn't just a fancy picture; it's actionable data. I remember a project for a juice company. Their new bottle had a unique embossed logo on the side. The simulation immediately flagged the area around the sharp edges of the logo as being critically thin. Without the simulation, they would have gone straight to tooling. The first samples would have failed pressure tests, or the bottles would have been incredibly fragile. The mold would have needed expensive and time-consuming modifications. Instead, based on the simulation report, we slightly rounded the edges of the logo in the 3D model and re-ran the analysis. The new simulation showed a much better material distribution. This small, upfront digital step prevented a multi-thousand-dollar mistake and weeks of delay. It turns a potential disaster into a minor design tweak, proving its value instantly.
Should you ensure the bottle neck size matches the blow molder and filler head?
You have a perfect bottle design and a high-quality mold. But when you try to run it, the preforms don't fit the blow molder, or the finished bottles don't work with your capper. Production grinds to a halt.
Absolutely. The neck finish is a critical interface. It must be 100% compatible with the spindles on your bottle blowing machine for heating and blowing, and then perfectly match the gripper and sealing heads on your filling line. Any mismatch will cause major production failures.
The Most Overlooked Detail
The neck finish of a bottle is one of the few parts that is not formed during the blowing process; it's already fully formed on the preform mold. This means its dimensions are fixed. People often get so focused on the body of the bottle that they forget this crucial detail. The problem is that different machines are built for different neck standards. For example, a common neck finish for water is PCO 1881, while many carbonated soft drinks use a 30/25 neck. They are not interchangeable.
I had a client who learned this the hard way. They had a bottle blowing machine set up for a 30/25 neck finish. They decided to launch a new product with an 1881 neck because the preforms were slightly cheaper. They ordered the new blow bottle mold without consulting us on the machine side. When the mold arrived, they realized the preforms wouldn't fit in the heating oven. The machine's heating spindles were too large for the smaller 1881 neck diameter. They thought the solution was simple: just change the heating heads. However, changing the heads also altered the baseline height of the mold. Now, the brand new, expensive mold wouldn't close properly in the machine. It was a chain reaction of incompatibility that started with one overlooked detail. We had to re-engineer the mold base plate to make it fit, costing them time and money. This entire disaster could have been avoided with a single phone call to confirm compatibility before ordering the mold.
| Neck Standard | Typical Application | Key Feature | Compatibility Check |
|---|---|---|---|
| PCO 1881 | Lightweight water bottles, CSD | Shorter height, less material. | Requires 1881-specific heating spindles and filler heads. |
| 30/25 | Water, CSD | Taller, robust design. | Needs 30/25-compatible machine components. |
| 38mm | Juices, Dairy | Wider opening for hot-fill or aseptic filling. | Machine must support large neck diameters. |
Should you confirm mold installation size and machine compatibility?
Imagine the excitement of receiving your brand-new custom mold, only to have that excitement turn to dread. The mold is perfect, but it physically cannot be installed in your blowing machine. This is a nightmare scenario.
Confirming every single installation dimension before manufacturing is non-negotiable. You must ensure the mold's physical size, clamping mechanism, and critical measurements like the cavity center distance perfectly match the specifications of your existing bottle blowing machine.

Measure Twice, Cut Metal Once
This is where meticulous attention to detail saves fortunes. A bottle blowing machine is not a one-size-fits-all piece of equipment. A machine designed to produce small 500ml bottles simply doesn't have the physical space or clamping force for a large 5-liter bottle mold. Key parameters like the mold's height, width, and thickness must fit within the machine's platen area. The center distance between cavities on a multi-cavity mold must exactly match the center distance of the machine's blowing nozzles. Even the cooling channels must align with the machine's water ports.
This reminds me of a new client I started working with in Indonesia. They had five different two-cavity blowing machines, a mix of fully automatic and semi-automatic models. For our first project together, we sent them a detailed checklist asking for dozens of specifications about their machines: platen dimensions, maximum mold thickness, ejector stroke, center distance, everything. Initially, he was a bit annoyed. He told me, "You ask for too much data. My previous suppliers never asked for all this." I insisted, explaining that this was the only way to guarantee a 100% successful outcome. He reluctantly filled out the forms for the target machine. We built the blow bottle mold precisely to those specs. When it arrived, it dropped into his machine and ran perfectly on the first try. He called me, surprised and very happy, and said, "Now I understand. My past mold projects always had 'some issues' that needed fixing. Your mold just worked." That experience built a foundation of trust for our entire business relationship. That upfront diligence is our professional responsibility.
Should you adjust heating and blowing settings when changing preforms?
You switched from one preform supplier to another, or are using a different color. Suddenly, your production is full of defects like pearlescence, hazy bottles, or uneven walls. What went wrong?
Yes, every time you introduce a new batch or type of preform, you must re-evaluate and adjust your machine's process parameters. Even small variations in material or color can dramatically affect how the preform absorbs heat, requiring changes to oven settings and blowing pressures.

Every Preform is Unique
It's a common mistake to think all preforms are the same, even if they have the same weight and neck finish. The reality is that different manufacturers use slightly different PET resin grades. The intrinsic viscosity (IV) of the resin can vary, which affects how it stretches. A preform made with a lower IV resin will be less viscous when heated and will stretch more easily than one made with a higher IV resin. Color also plays a huge role. A dark, opaque preform will absorb infrared heat in the oven much faster than a clear one. If you use the same heating profile, the dark preform will be "over-burnt," leading to a hazy or pearlescent appearance and a brittle bottle. A clear preform might be "under-blown," resulting in thick sections because it didn't get soft enough. When you are looking for a preform mold, it's essential to consider the consistency of the output.
I was visiting a customer's plant once, and they were having a terrible time with a new batch of green preforms for a CSD bottle. Their process was perfectly tuned for clear preforms, but with the green ones, the base was blowing out and the walls were hazy. The operator was frustrated and kept increasing the blow pressure, which only made it worse. I took one of the preforms and looked at their oven settings. All the lamps were at the same high power. I explained that the green colorant was causing the outside of the preform to overheat before the inside could reach the right temperature. We profiled the oven, lowering the power on the top lamps and slightly increasing it on the lamps aimed at the lower section. This allowed the preform to heat more evenly. We also slightly delayed the pre-blow air to let the material stretch more gently. Within 30 minutes, we were producing crystal-clear, strong bottles. It wasn't a problem with the preforms or the machine; it was a process that needed to be adapted.
Should you inspect blow molding and auxiliary machines before production?
You're ready to start a big production run. You flip the switch, and nothing happens, or worse, the machine alarms out. Now you're facing unplanned downtime, trying to diagnose a problem under pressure.
A thorough pre-production inspection of all equipment is essential for a smooth startup. This includes not just the bottle blowing machine itself, but also the critical auxiliary systems like the high-pressure air compressor, the air dryer, and the mold temperature controller or chiller.
The Systems That Support the Star
The bottle blowing machine gets all the attention, but it's completely reliant on its support systems. You can have the best machine and a perfect mold, but if your auxiliary equipment fails, you're not making any bottles. The high-pressure air compressor provides the force that stretches the bottle. The air dryer removes moisture, which is critical because wet air causes defects. And the chiller circulates cold water through the mold to cool the PET quickly, which is essential for setting the bottle's shape and achieving good clarity. A failure in any of these areas will bring production to a dead stop.
I remember getting an urgent call from a client complaining that their brand new mold was producing white, hazy bottles. They were convinced the blow bottle mold was defective. When I arrived at their factory, I could feel that the mold was warm to the touch, which should not happen. I asked them to check their water chiller. Sure enough, the unit was running, but it was low on refrigerant ("Freon") and wasn't actually cooling the water. The mold was getting progressively hotter with each cycle. The PET wasn't being "quenched" fast enough, which causes the material to crystallize and turn white. It had nothing to do with the mold itself. We got the chiller serviced, and once it was delivering properly chilled water to the mold, the bottles were perfectly clear. This is why a pre-start checklist is so important. Checking the chiller's output temperature and the air pressure from the compressor takes five minutes, but it can prevent hours of downtime and wasted material.
| Auxiliary System | Function | Pre-Start Check |
|---|---|---|
| High-Pressure Compressor | Provides air (30-40 bar) to form the bottle. | Check output pressure and for any air leaks. |
| Air Dryer | Removes moisture from the compressed air. | Check dew point indicator to ensure it's functioning. |
| Water Chiller | Circulates cold water to cool the mold. | Verify water temperature and flow rate. |
| Preform Hopper/Loader | Feeds preforms to the machine. | Ensure it's clean, dry, and full of the correct preforms. |
Should you run sample bottles for labeling, capping, and filling tests?
Your new bottles look perfect coming out of the blowing machine. You produce thousands of them, only to discover they jam the labeler, the caps don't seal properly, or they deform on the filling line.
Yes, producing a small batch of sample bottles for comprehensive downstream testing is a critical validation step. These samples must be run on your actual labeling, filling, and capping equipment to confirm 100% compatibility before you commit to mass production.
Validating the Entire Process
A bottle doesn't exist in a vacuum. It is one part of a larger packaging system. Its journey is only just beginning when it leaves the bottle blowing machine. The bottle must be able to withstand the rigors of the rest of the production line. For example, a bottle designed with a slightly recessed label panel might look great, but if that recess is too deep or the sidewall is too flexible, the pressure from the labeling machine can dent it. Similarly, the thread on the neck finish has to perfectly engage with the capping machine to apply the correct torque for a secure seal without stripping the threads. During filling, especially with hot-fill products, a bottle with insufficient vacuum panels or wall thickness will deform or collapse.
I worked with a beverage startup that was launching a new uniquely shaped bottle. We produced the mold and the initial samples looked great. They were so excited that they immediately ordered 100,000 preforms and started full-scale production. A week later, I got a frantic call. Their entire production was on hold. The problem? Their wrap-around labeler couldn't handle the bottle's complex curves. The labels were wrinkling and being applied crooked. It was a complete disaster. They had to halt everything and spend a fortune on rush modifications to their labeling machine. If they had just taken 50 sample bottles and run them through their line first, they would have caught the issue immediately. We could have made a tiny adjustment to the bottle's label panel area on the blow bottle mold to provide a flatter surface. That simple test would have saved them a massive headache and a lot of money.
Should you implement standard pre-production checks and training?
Your team is skilled, but frequent small issues and inconsistencies plague your production startups. Each shift seems to have its own way of doing things, leading to variable bottle quality and unexpected downtime.
Yes, establishing a standardized pre-production checklist and a formal training program is the ultimate key to consistency. This ensures that every operator, regardless of experience, follows the same critical verification steps every single time, making your process reliable and repeatable.

Making Excellence a Habit
The most advanced bottle blowing machine in the world can still produce bad bottles if it's not set up and checked correctly. The difference between a smooth, efficient operation and a chaotic one often comes down to process and people. A standardized checklist removes guesswork and reliance on memory. It forces a systematic review of all critical components: Is the correct mold installed and secured? Are the water and air lines properly connected? Is the chiller at the right temperature? Is the air pressure correct? Are the oven lamps clean and working? Are the right preforms loaded? Is the safety guarding in place? These are not complex questions, but forgetting even one can cause a major problem.
Training is the other half of this equation. An operator needs to understand why they are checking these things. When they understand that incorrect chiller temperature leads to hazy bottles, or that a dirty oven lamp creates cold spots and inconsistent stretching, they are no longer just checking boxes. They become empowered process technicians. I’ve seen the transformation in many factories. When we implement a formal check and training system, the number of startup issues plummets. Operators start to spot potential problems before they happen. They take ownership of the process. For example, a well-trained operator might notice the sound of the air compressor is slightly different and check it, finding a leak that would have caused pressure drops later in the shift. This proactive mindset, built through standardization and knowledge, is what separates good companies from great ones. It turns firefighting into a calm, controlled, and predictable manufacturing process.
Conclusion
Preventing PET bottle problems is not about luck; it's about a disciplined, proactive approach. By focusing on design, simulation, compatibility checks, and standardized procedures, you can eliminate most issues before they ever happen.
Frequently Asked Questions
1. What is the single biggest mistake people make when ordering a new blow mold?
The most common and costly mistake is failing to provide or confirm the exact installation dimensions for the specific bottle blowing machine it will be used in. A beautiful mold that doesn't physically fit in your machine is useless.
2. Why do my bottles look hazy or white when they should be clear?
This is almost always a cooling issue. Either the mold is too warm, or the bottle is not being cooled fast enough after blowing. Check your water chiller temperature and flow rate, and ensure the cooling channels in your blow bottle mold are not blocked.
3. Can I use the same heating settings for clear and colored preforms?
No. Colored preforms, especially dark ones, absorb infrared heat much faster than clear preforms. You must create a separate heating profile with lower lamp power or a faster cycle time for colored preforms to avoid overheating and material degradation.
4. How can I tell if my stretch ratios are wrong just by looking at the bottle?
Look for common defects. A very thin, weak base often indicates too much axial (vertical) stretch. Pearlescence or haziness in the sidewall can mean the material was over-stretched or not heated correctly. Hard-to-read embossed logos often signal poor material flow and incorrect ratios in that specific area.
5. My new bottle design keeps failing drop tests. What's the most likely cause?
Poor material distribution is the most likely culprit. This usually stems from a design with incorrect stretch ratios, creating weak, thin spots. The base design is also critical. A simulation before manufacturing the preform mold or blow mold can predict and help correct these structural weaknesses.
🔗 Learn More about Blow Molding Technology
To better understand the core components of a 6-cavity automatic blow molding machine, here are some useful resources:
Blow Molding – Wikipedia
A comprehensive overview of various blow molding processes, including extrusion, injection, and stretch blow molding.Injection Molding – Wikipedia
Important for understanding the production of preforms used in stretch blow molding.Stretch Blow Molding – Wikipedia
Explains how PET bottles are formed through axial and radial stretching processes.PET Bottle – Wikipedia
Background information on the materials and properties of typical PET bottles.Design of PET Bottles – Wikipedia
An introduction to the design considerations and geometry used in PET bottle manufacturing.
🔗 Related Pages on Our Website
Automatic Blow Molding Machines – iBottler
Discover our full range of customizable automatic PET bottle blow molding machines.Blow Bottle Mold – iBottler
Explore our precision blow molds designed for PET and PP bottles.Preform Mold – iBottler
Learn more about our high-precision preform molds suitable for various injection molding machines.
