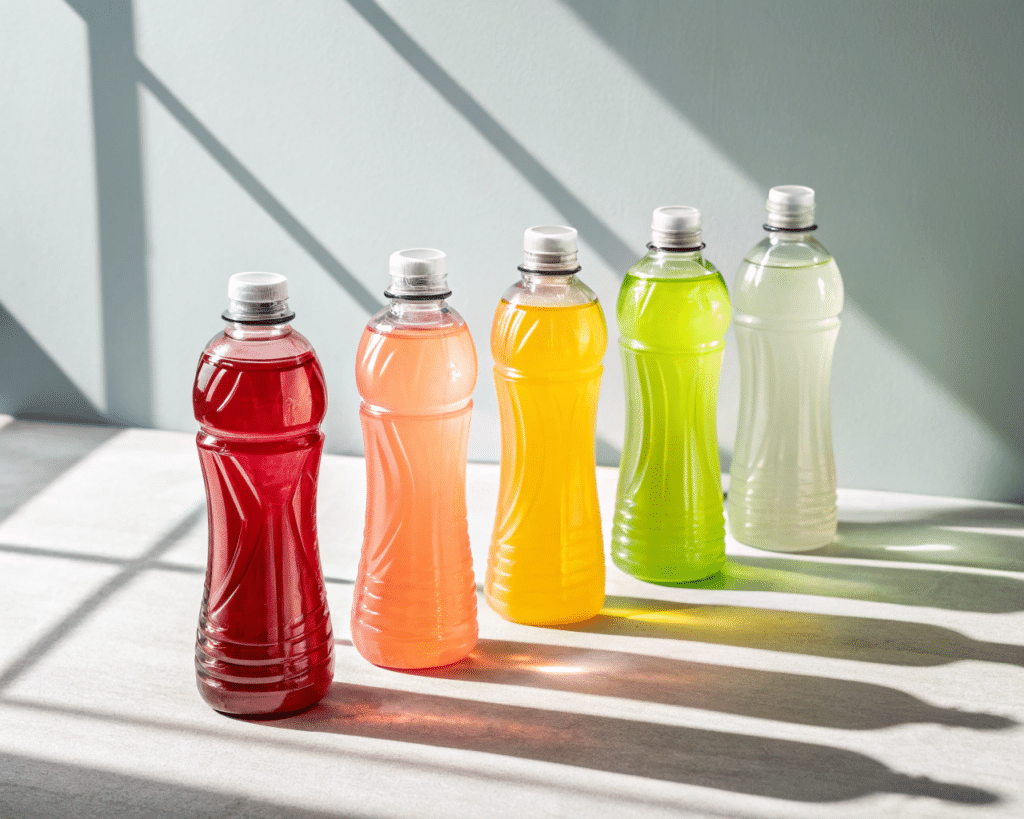
You have a great sports drink, but the bottles are just sitting on the shelf. This is a common problem. You invested in the formula, but overlooked the packaging, and now sales are flat.
The design of a sports drink bottle is a critical factor in driving sales. Key elements like capacity, ergonomic grip, cap functionality, and visual appeal directly influence consumer choice, user experience, and brand loyalty, turning a simple container into a powerful marketing tool.
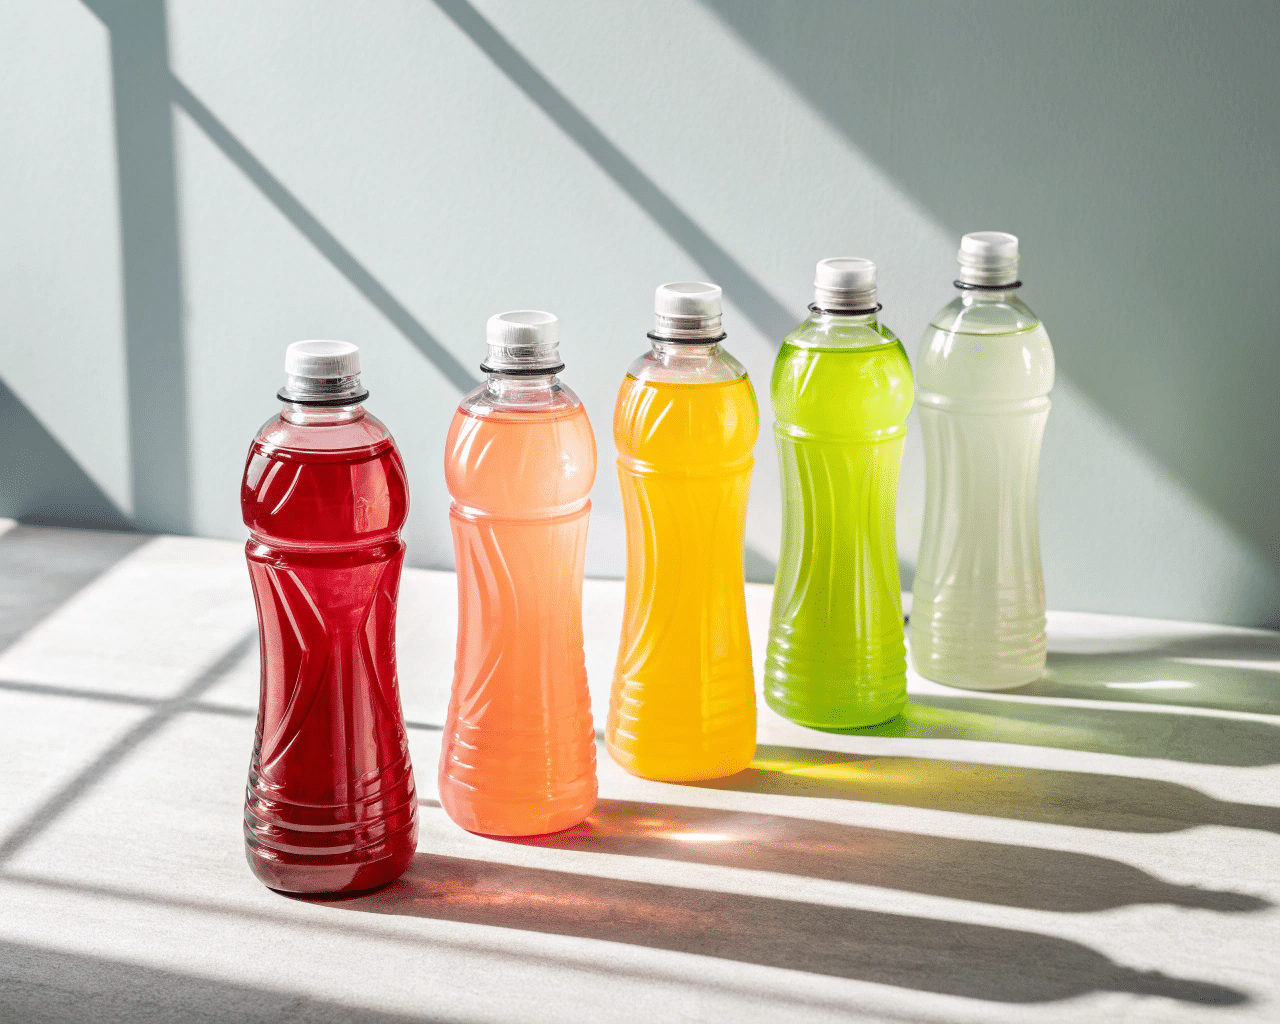
I've seen firsthand how bottle design can make or break a product. People who are active and health-conscious—your target audience—care about more than just what's inside the bottle. They care about convenience, comfort, and how the product fits into their active lifestyle. A bottle that’s hard to open, uncomfortable to hold, or simply looks generic can be a deal-breaker. In this guide, I'll walk you through every aspect of bottle design, drawing on my experience to show you how to create a bottle that not only looks great but sells great too. Let’s dive in.
How do you choose the right bottle capacity for different activities?
You see someone at the gym with a small, compact bottle for a quick workout. But a hiker on a long trail has a much larger one. This isn't a coincidence. Choosing the wrong size can alienate potential customers before they even try your drink.
The right bottle capacity meets a specific need for a specific activity. A small 250ml bottle is perfect for a quick gym session or a kids' sports event, while a 1-liter bottle is essential for all-day hydration during endurance sports. The 500ml size often hits the sweet spot for everyday use.
Choosing the right capacity is the first step in aligning your product with your customer's lifestyle. It's a fundamental decision that signals you understand their needs. I worked with a client in the U.S. who started in the outdoor gear industry. They initially sold uniquely designed water canteens. When they launched their own sports drink, they already knew their audience needed options. They didn't just launch one size; they offered a portable 500ml for casual joggers and a robust 1L version for the serious hikers who were their core customers. This strategy was a huge success because it showed they respected the different demands of each activity. When designing your bottle, you must think about the end-user's context. A detailed PET bottle mold design guide can help you visualize how different volumes will look and feel, ensuring the final product is perfectly matched to its intended scenario.
Key Considerations for Bottle Capacity
| Capacity | Best For | Consumer Profile | Key Benefit |
|---|---|---|---|
| 250-350ml | Quick gym sessions, kids' sports, running events | The "Quick Burst" Athlete | Maximum portability, fits in any bag or holder. |
| 500-600ml | Daily fitness, team practices, casual hiking | The "Everyday" Mover | The perfect balance of hydration and convenience. The most popular size. |
| 750ml-1L+ | Long-distance running, cycling, all-day tournaments, construction work | The "Endurance" User | Provides sustained hydration, reducing the need for refills. |
Understanding these segments is crucial. The goal isn't just to sell a drink; it's to become a reliable piece of gear for your customer's activity. A mismatch in capacity can lead to frustration—too small, and they run out; too large, and it's a burden to carry. Analyze sales data, but also get out there and observe your target audience. See what they're carrying. This real-world insight is more valuable than any market report.
How can bottle shape and grip enhance user comfort and drive sales?
You’re in the middle of a run, your hands are sweaty, and you reach for your drink. If the bottle slips or is awkward to hold, it’s a frustrating experience. That single moment of discomfort can be enough to make you choose a different brand next time.
An ergonomic bottle with a comfortable, secure grip is not a luxury; it's a necessity. Features like indented grooves, tactile textures, and a balanced center of gravity allow for easy one-handed use, even during intense activity. This focus on user comfort directly impacts satisfaction and repeat purchases.
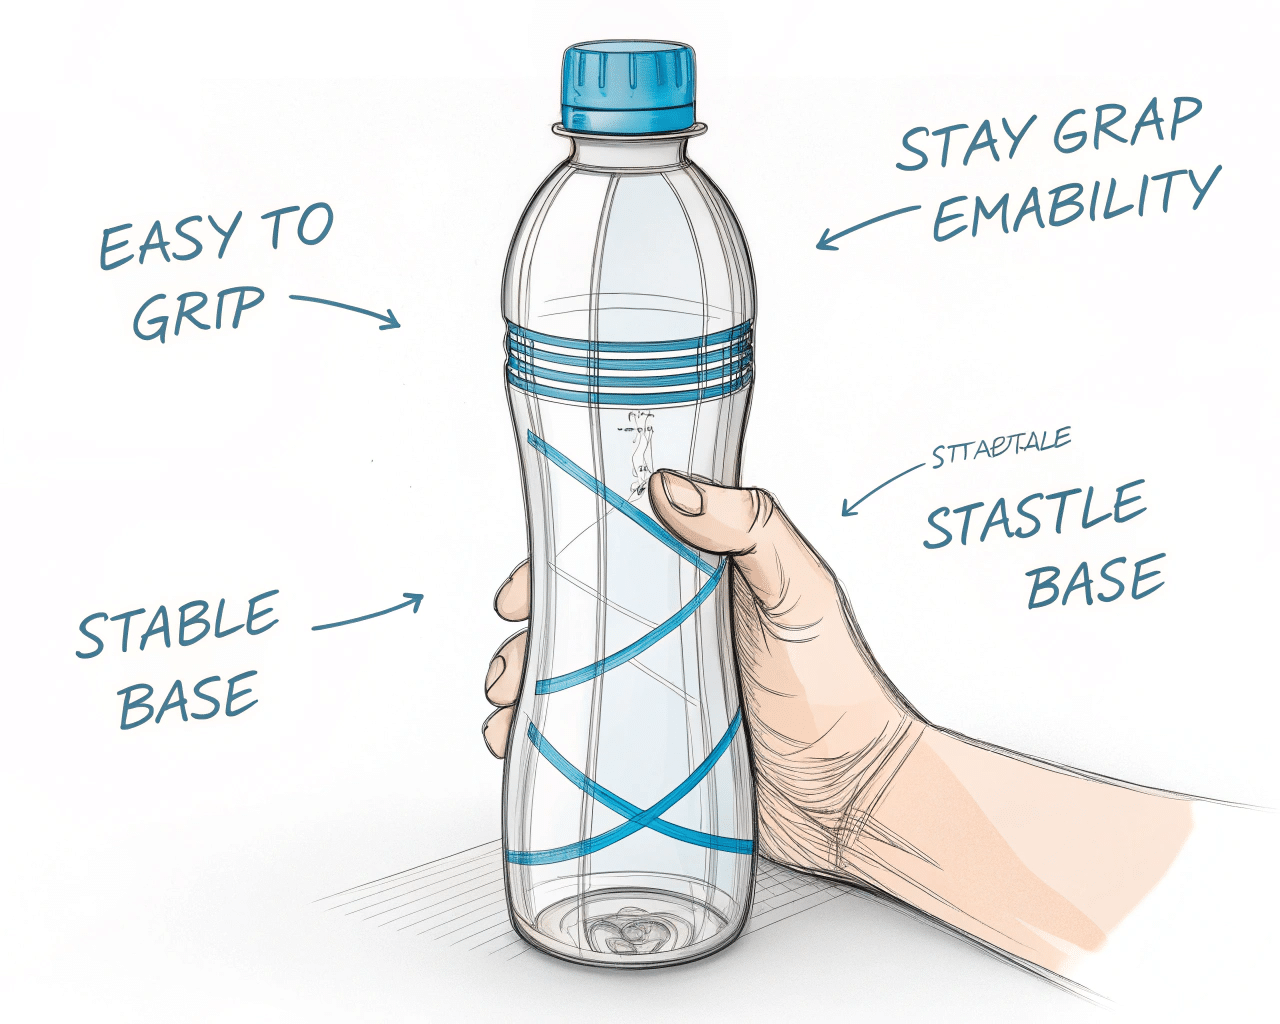
This is where the physical design of the bottle becomes paramount. I always tell my clients to think of the bottle as a piece of sports equipment. My U.S. client, the one from the outdoor gear space, built their initial success on a water bottle with a revolutionary grip. It was their signature. When they launched their drink, they made sure the bottle's shape was not only unique but incredibly comfortable to hold. They knew that in a crowded market, the tactile experience—the feel of the bottle in your hand—could be the deciding factor. We went through several iterations, using 3D printed samples to rapidly validate the blow mold designs, which allowed us to test the feel and balance before committing to expensive tooling. This process ensures the bottle doesn't just look good on a shelf but feels good in the hand, which is what builds brand loyalty. A well-designed grip communicates quality and an understanding of the athlete's needs.
Elements of an Effective Ergonomic Grip
- Waist Indentations: A contoured or "waisted" shape naturally fits the curve of a hand, making it easier to hold.
- Textured Surfaces: Stippling, ribbing, or geometric patterns provide friction, preventing slippage when hands are wet or sweaty.
- Material Choice: Some materials offer a softer, more pliable feel. While PET is standard, the finish can be manipulated to improve tactile feedback.
- Center of Gravity: A bottle that is "top-heavy" will feel unstable and want to tip over. Distributing the weight evenly makes the bottle feel more secure and balanced in the hand.
Thinking through these details is what separates a generic bottle from a high-performance one. When you invest in a custom blow bottle mold, you have the power to build these ergonomic features directly into your brand's DNA. It’s a tangible asset that customers will notice and appreciate with every use.
What material is best for a sports drink bottle?
Your customer is focused on health and performance. They won’t accept a bottle made from cheap, unsafe materials that could leach chemicals. They also live in a world where environmental impact is a major concern.
The ideal material must be lightweight, durable, safe, and increasingly, sustainable. Food-grade PET (Polyethylene terephthalate) is the industry standard because it meets these criteria perfectly. For brands looking to appeal to eco-conscious consumers, using recycled PET (rPET) is a powerful statement.
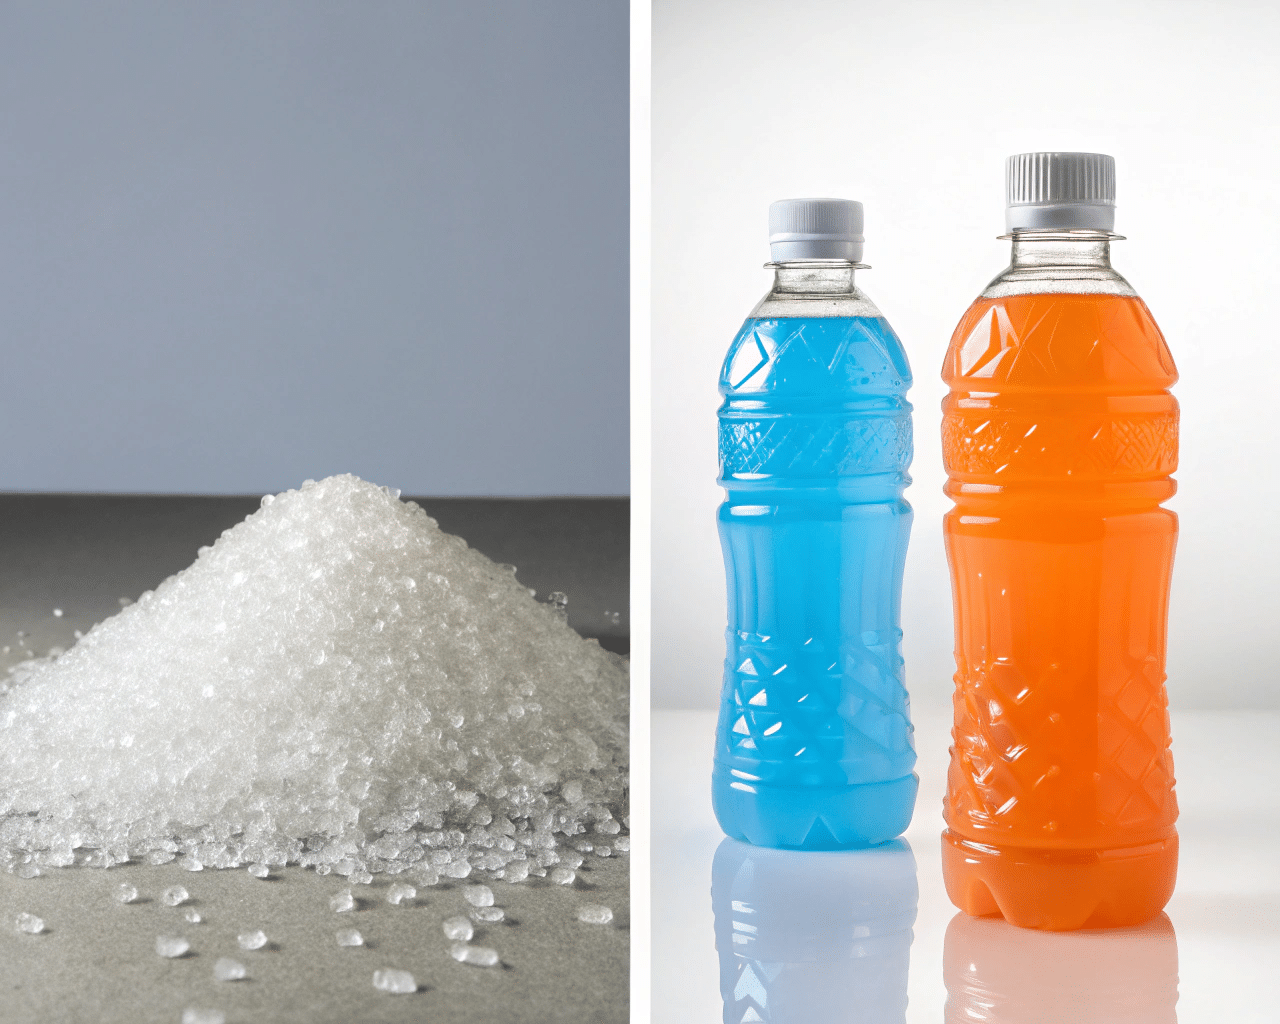
The choice of material is a non-negotiable part of your brand's promise of quality and safety. Using anything other than food-grade PET is a non-starter. It's lightweight, which is crucial for athletes who don't want to be weighed down, yet it's incredibly shatter-resistant, making it perfect for the rough-and-tumble environment of sports. But today, the conversation goes beyond just PET. The rise of rPET is a game-changer. My client, with their roots in the outdoor community, knew their customers cared deeply about the environment. Opting for a 50% rPET bottle was an easy decision. It aligned perfectly with their brand ethos and created a great story for their marketing. It showed they weren't just selling a drink; they were committed to preserving the playgrounds—the parks, trails, and mountains—where their customers are active. The material starts as a small component called a preform, and choosing a high-quality supplier for your preform molds is the first step to ensuring a flawless and safe final product.
Comparing PET and rPET
| Feature | Food-Grade PET | Recycled PET (rPET) | Key Consideration |
|---|---|---|---|
| Safety | Excellent, FDA-approved, BPA-free. | Excellent, goes through a rigorous cleaning process to be food-safe. | Both are safe for beverages. Ensure your rPET supplier is certified. |
| Performance | High clarity, strong, and lightweight. | Slightly less clear ("grayer" tint possible), but strength and weight are comparable. | Minor aesthetic differences can be part of the "eco" story. |
| Environmental Impact | Virgin plastic, derived from fossil fuels. | Reduces landfill waste and plastic pollution, lower carbon footprint. | rPET is the clear winner for sustainability. |
| Cost | Generally the baseline cost. | Can be slightly more expensive due to collection and processing costs. | The marketing value and brand alignment of using rPET often outweigh the minor cost increase. |
Choosing rPET is no longer a niche decision; it's becoming a mainstream expectation, especially among younger, environmentally aware consumers. It’s a powerful way to differentiate your brand and build a deeper connection with your audience.
Why is the bottle cap and neck design so critical?
A leaky bottle cap can ruin a gym bag, a car seat, or an athlete's focus. A cap that requires two hands to open is useless in the middle of a bike ride. These seem like small details, but they are major points of failure in user experience.
The cap and neck design must be absolutely leak-proof and easy to operate with one hand. The choice between a flip-top, a push-pull nozzle, or a simple screw cap depends on the user's preference and activity, but the core function of secure sealing is non-negotiable.
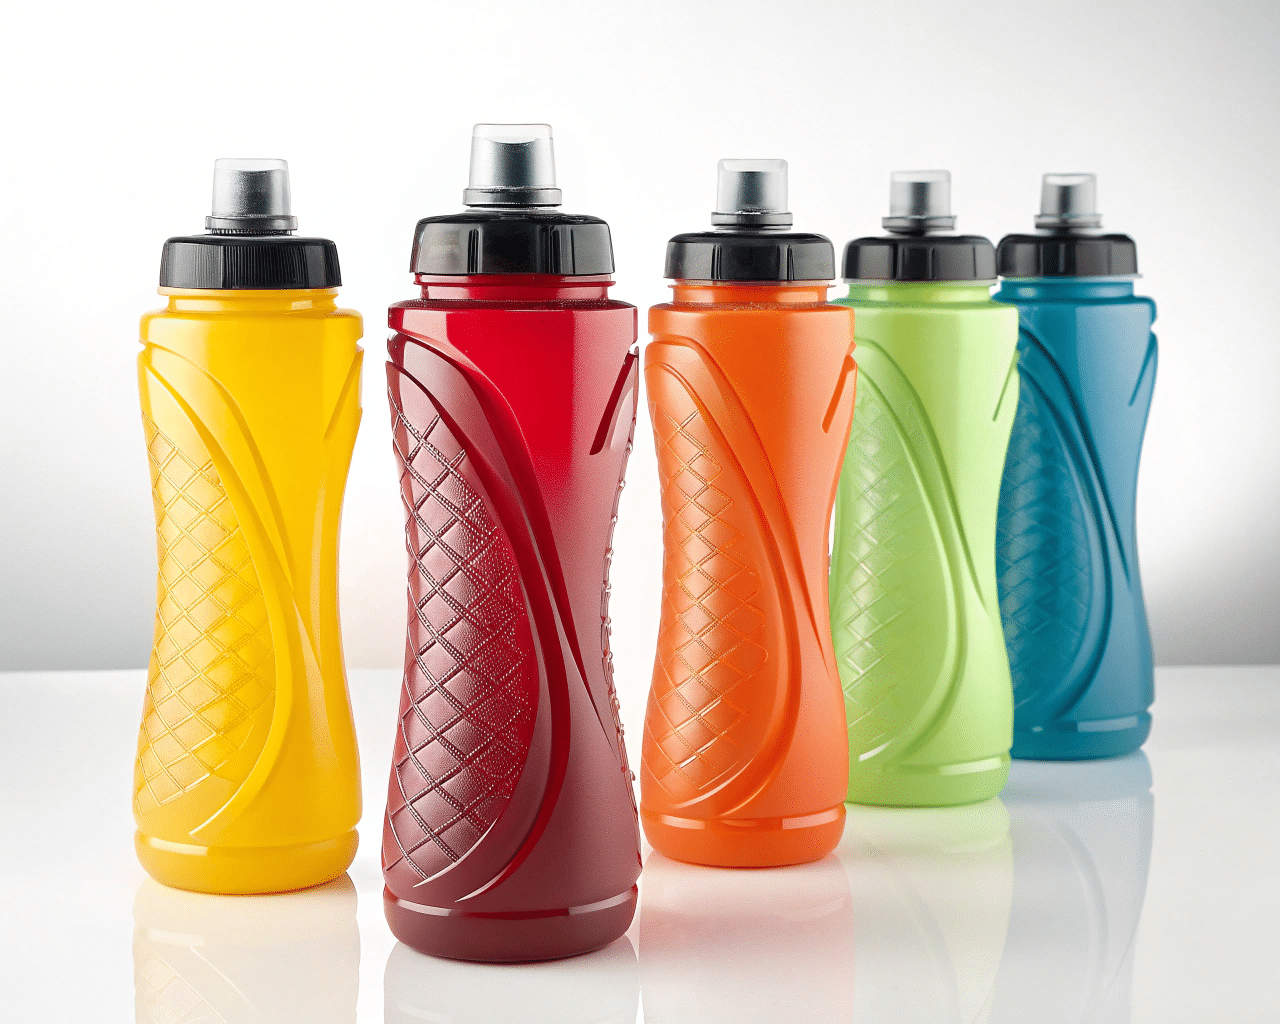
I’ve heard horror stories from brands that tried to save a few cents on the cap design. It's a classic mistake. The cap is the most interactive part of the bottle. If it fails, the entire product fails. A reliable seal, often enhanced with a quality silicone ring, prevents leaks and waste. The opening mechanism defines the drinking experience. For my client's brand, we debated heavily between a flip-top and a high-flow nozzle. We ended up offering both, targeting the flip-top for the gym crowd and the nozzle for cyclists and runners who need quick, continuous access to their drink. The neck finish of the bottle must be flawlessly manufactured to match the cap perfectly. This is why it's so important to choose the right preform neck size for your PET bottle project from the very beginning. A mismatch here can lead to widespread leaking issues, which can be a disaster for a new product launch.
Common Cap Types and Their Uses
- Screw Cap: Simple, secure, and cost-effective. Best for general use where one-handed access isn't a priority. Often has a wide mouth for adding ice or powder.
- Flip-Top Cap: Very popular for gym use. Offers good protection from dirt, is easy to open with a thumb, and provides a controlled flow.
- Push-Pull (Nozzle) Cap: The classic sports cap. Ideal for activities like cycling, running, and team sports where you need a quick squirt of liquid without stopping.
- Bite Valve/Straw Cap: Allows for hands-free drinking. Great for hikers with backpacks or drivers who need to keep their eyes on the road.
Investing in a high-quality cap and ensuring its perfect compatibility with your bottle neck is one of the smartest investments you can make in your packaging. It builds trust and ensures your customers have a positive experience every single time they reach for your drink.
How much does the bottle's appearance affect purchase decisions?
Imagine your bottle on a supermarket shelf next to dozens of competitors. What makes a customer reach for yours? Before they read the label or know the price, they see its shape and color. A generic bottle is invisible.
The visual appeal of your bottle is your first, and sometimes only, chance to make an impression. Bold color combinations, unique printed graphics, and a distinctive silhouette make your product stand out. Younger consumers, in particular, are drawn to designs that are visually striking and express a certain attitude or lifestyle.
A bottle is not just a container; it's a billboard in the customer's hand. When my client decided to launch their sports drink, we knew we had to leverage the strong visual identity of their outdoor gear. We didn't pick generic colors. We used the same vibrant, high-contrast color palettes from their best-selling jackets and backpacks. The bottle's shape was designed to be an extension of their brand's angular, modern aesthetic. This instantly made the product recognizable to their existing fans and intriguing to new customers. It didn't look like every other sports drink on the shelf. It had a personality. This is the power of a holistic PET bottle mold design guide; it helps you think beyond mere function and consider how every curve and color will communicate your brand's story. In a sea of sameness, a visually distinct bottle is a beacon.
Key Visual Elements to Consider
- Color: Use color psychology to your advantage. Blue conveys hydration and refreshment. Red and orange suggest energy. Green can signal natural or organic ingredients. A unique color combination can become a brand signature.
- Shape: As we've discussed, shape affects grip, but it's also a primary visual differentiator. A bottle with unique shoulders, a square profile, or an asymmetric design will capture attention.
- Finish: The finish of the PET material can be glossy, matte, or even have a frosted effect. A matte finish can feel more premium and modern, while a high-gloss finish makes colors pop.
- Graphics and Printing: High-quality, full-wrap shrink sleeves allow for stunning, photorealistic graphics that cover the entire bottle. This is a canvas to tell your brand's story, showcase ingredients, and create a powerful visual identity.
Don't underestimate the power of aesthetics. In the split-second decision-making process of a busy shopper, a bottle that looks better, more interesting, or more premium often wins.
How can the label effectively communicate your product's value?
A customer picks up your visually appealing bottle. Now what? They turn it over, looking for information. They want to know what's in it, what it does, and why they should trust it. A confusing or uninformative label can kill the sale right there.
A well-designed label builds trust and communicates value. It must present nutritional information clearly and concisely. The label material itself needs to be durable enough to withstand condensation and abrasion. Modern labels can also incorporate interactive elements like QR codes to deepen customer engagement.
The label is your product's resume. It needs to be clear, honest, and easy to read. For health-conscious consumers, the nutritional panel is not fine print; it's the main story. They are looking for electrolyte levels, sugar content, and calorie counts. We made sure my client's bottle had a very clean, easy-to-read layout with simple icons to highlight key benefits like "Fast Hydration" or "Natural Flavors." We also used a waterproof and scratch-resistant label material. There's nothing worse than a label that peels or smears after five minutes in a gym bag. It looks cheap and undermines the quality of the product. Adding a QR code that linked to workout tips and stories from sponsored athletes was a simple way to add value beyond the bottle and build a community around the brand. A great label turns the bottle from a simple product into an informative and interactive experience.
Label Design Checklist
| Element | Purpose | Best Practice |
|---|---|---|
| Nutritional Panel | Builds trust and informs the consumer. | Use a clear, legible font. Comply with all local regulations for food labeling. |
| Brand Story | Creates an emotional connection. | A short, 1-2 sentence tagline or story about your brand's mission. |
| Benefit Callouts | Quickly communicates value. | Use icons or bold text for key benefits (e.g., "Zero Sugar," "Added B-Vitamins"). |
| Material Quality | Ensures durability and premium feel. | Choose waterproof and scuff-resistant materials like BOPP or a shrink sleeve. |
| Interactive Elements | Deepens engagement. | A QR code linking to your website, social media, or exclusive content. |
The label is your silent salesperson. Make sure it's working hard for you by being as clear, durable, and engaging as possible.
How can a custom bottle shape boost brand recognition?
Think of the most iconic beverage brands in the world. What comes to mind? Often, it's the unique shape of their bottle. A custom bottle shape transcends packaging and becomes a powerful, instantly recognizable brand symbol.
Investing in a unique silhouette is one of the most effective ways to build lasting brand recognition. A custom blow bottle mold allows you to create a proprietary shape that competitors cannot copy. This unique asset ensures your product is immediately identifiable, even without a label.
This is the ultimate goal for any ambitious brand. My American client understood this from day one. Their success wasn't just because their first water canteen was ergonomic; it was because it was different. Its shape was their logo. When they launched their sports drink, we carried that unique design language over. We created a bottle that was unmistakably theirs. It strengthened their brand identity and made the new product launch feel like a natural extension of their existing, trusted line. When a customer can spot your product from across the aisle, you've won a major marketing battle. This is why investing in a custom mold is not a cost; it's an investment in a long-term brand asset. It creates a moat around your product that is incredibly difficult for competitors to cross. It’s a physical manifestation of your brand that customers see, touch, and remember.
Steps to Developing a Signature Bottle Shape
- Brand Identity Deep Dive: What are your brand's core values? Rugged and tough? Sleek and modern? Natural and organic? The shape must reflect this personality.
- Conceptual Sketching: Explore a wide range of silhouettes. Don't be afraid to be bold. The goal is to create something memorable.
- 3D Prototyping: This is a crucial step. Use services that offer 3D printed samples to rapidly validate blow mold designs. This allows you to hold the bottle, test its grip, and see how it looks in the real world before committing to expensive tooling.
- Mold Creation: Once the design is finalized, a custom blow mold is created. This tool will be used to produce millions of your signature bottles.
A unique bottle shape tells a story. It says you are confident, you are a leader, and you are not like everyone else. It's the most powerful, non-verbal marketing tool you have.
How do you balance innovative design with cost and production realities?
You've designed the perfect bottle: it's ergonomic, visually stunning, and has a unique shape. But then you get the quote from the manufacturer. The cost is too high, and the design isn't compatible with your existing production line.
Design cannot exist in a vacuum. It must always be balanced with the practical realities of manufacturing costs and equipment compatibility. A complex bottle shape may require more expensive molds and slower production cycles, driving up the per-unit cost.
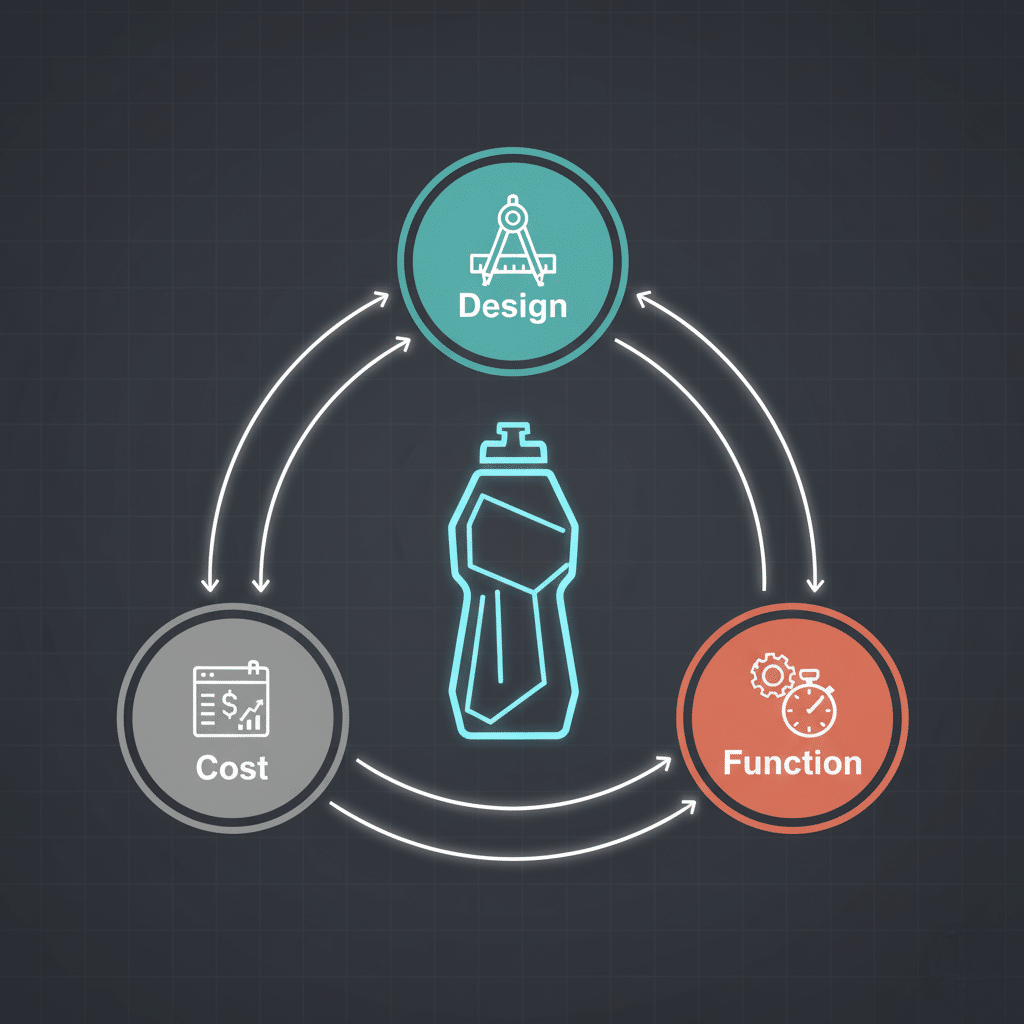
This is the conversation I have with every single client. It's easy to get carried away with a beautiful design, but it has to be manufacturable at a price that makes sense for your business. The key is to find the sweet spot between aesthetics, function, and cost. For example, extremely sharp angles or deep undercuts in a bottle design can make the blow bottle mold more complex and expensive, and can also lead to a higher rate of production errors. It's also critical to ensure the design can run on your existing equipment. A great design is useless if you have to buy an entirely new bottle blowing machine to produce it. This is why I always stress the importance of early collaboration between the design team and the production engineers. We have a vast database of machine specifications, and we always confirm that we have the mounting dimensions for the customer's blow molding machines before we even start the final mold design. This avoids costly surprises down the line. It's also important to consider the entire production ecosystem, including auxiliary equipment like the chiller and air compressor system, as these can also be affected by bottle design and production speed. Sometimes, a small tweak to a design can result in significant cost savings without sacrificing the core concept. The goal is smart design, not just beautiful design.
Finding the Balance: A Practical Framework
| Design Aspect | High Innovation (High Cost) | Balanced Approach (Optimized Cost) | Key Trade-off |
|---|---|---|---|
| Shape Complexity | Asymmetrical, sharp angles, deep undercuts. | Smoother curves, symmetrical design, moderate indentations. | A slightly simpler shape can reduce mold cost and improve production efficiency. |
| Material | 100% rPET with special additives for color/finish. | A blend of rPET and virgin PET, or standard colorants. | Balance sustainability goals with material cost and availability. |
| Labeling | Full-wrap, matte finish shrink sleeve with metallic inks. | High-quality pressure-sensitive label on the front and back. | Labeling can provide huge visual impact for a fraction of the cost of a complex mold. |
| Production Speed | Slower cycle times due to complex cooling needs. | Optimized for fast, efficient cycle times on standard machinery. | Production speed directly impacts the cost per bottle. Fixing common PET blow molding defects efficiently is key to maintaining profitability. |
Successful bottle design is a three-legged stool: aesthetics, functionality, and cost. If one leg is weak, the whole project will be unstable. By involving manufacturing experts early in the process, you can achieve a fantastic design that is also a commercial success.
Conclusion
Ultimately, your sports drink bottle is far more than a simple container. It is your first handshake with the customer, a key piece of their gear, and a mobile advertisement for your brand.
Frequently Asked Questions
1. How much does a custom blow mold for a sports drink bottle cost?
The cost can vary widely, from a few thousand dollars to tens of thousands. The price depends on the complexity of the bottle shape, the number of cavities in the mold (how many bottles are made at once), and the type of steel used. A simple, single-cavity prototype mold will be much cheaper than a complex, multi-cavity production mold made from hardened steel. It's best to get a specific quote based on your finalized design.
2. How long does it take to go from a design idea to a finished bottle?
A typical timeline is 6-12 weeks. This includes about 1-2 weeks for initial design and 3D prototyping, 4-6 weeks for manufacturing the production mold, and another 1-2 weeks for initial production runs and quality testing. Using 3D printed samples to rapidly validate blow mold designs can help speed up the initial phase by confirming the design before cutting steel.
3. What is the most common mistake brands make with bottle design?
The most common mistake is designing the bottle in isolation without considering manufacturing constraints. This leads to designs that are too expensive to produce or incompatible with existing equipment. The second biggest mistake is underestimating the importance of the cap. A cheap, leaky cap can ruin the customer's perception of an otherwise high-quality product.
4. Can I use my existing blowing machine for a new custom bottle shape?
In many cases, yes. The key is ensuring the new blow bottle mold is designed to fit your machine's specific mounting dimensions and can accommodate the bottle's height and diameter. It's critical to provide your mold maker with the exact specifications of your bottle blowing machine to ensure compatibility.
5. How important is using recycled material (rPET) for my brand?
This is becoming increasingly important, especially if your target audience is young or environmentally conscious. Using rPET aligns your brand with sustainability, which can be a powerful differentiator. While it can sometimes be slightly more expensive, many consumers are willing to support brands that make an effort to reduce their environmental impact. It tells a great story and shows your brand is forward-thinking.
🔗 Related Pages on Our Website
Automatic Blow Molding Machines – iBottler
Discover our full range of customizable automatic PET bottle blow molding machines.Blow Bottle Mold – iBottler
Explore our precision blow molds designed for PET and PP bottles.Preform Mold – iBottler
Learn more about our high-precision preform molds suitable for various injection molding machines.PET Wide Mouth Jar Project Starter Guide: Equipment, Molds & Process Explained
Pros and Cons: Should You Choose PET Blow Moulding for Your Bottle Project?
Worried About Blow Mold Fit? We Have Mounting Dimensions for 80% of Blow Molding Machines Worldwide
Can One Semi‑Automatic Blow Molding Machine Produce All Bottle Sizes? Here’s Why Not
Why Do Krones Blow Molding Machine Users Come to Us for Their Molds?
Why Do PET Preforms Come in Different Colors? Function, Application, and Production Tips
How to Set Parameters for 600ml Bottles on a Semi-Automatic PET Blowing Machine?
From 3D Printed Samples to Production: How Can You Rapidly Validate Blow Mold Designs?
How to Choose the Right Preform Neck Size for Your PET Bottle Project
Share:
- Click to share on WhatsApp (Opens in new window) WhatsApp
- Click to share on Facebook (Opens in new window) Facebook
- Click to share on X (Opens in new window) X
- Click to share on LinkedIn (Opens in new window) LinkedIn
- Click to email a link to a friend (Opens in new window) Email
- Click to share on Tumblr (Opens in new window) Tumblr
