In the bottled water industry, profit margins are extremely thin. Savings are often calculated in fractions of a cent. For a medium-sized water plant producing 50 million bottles annually, reducing the weight of a single bottle by just 1 gram means saving tens of thousands of dollars in PET raw material costs every year. In a market this competitive, that saving often determines whether a business survives or fails.
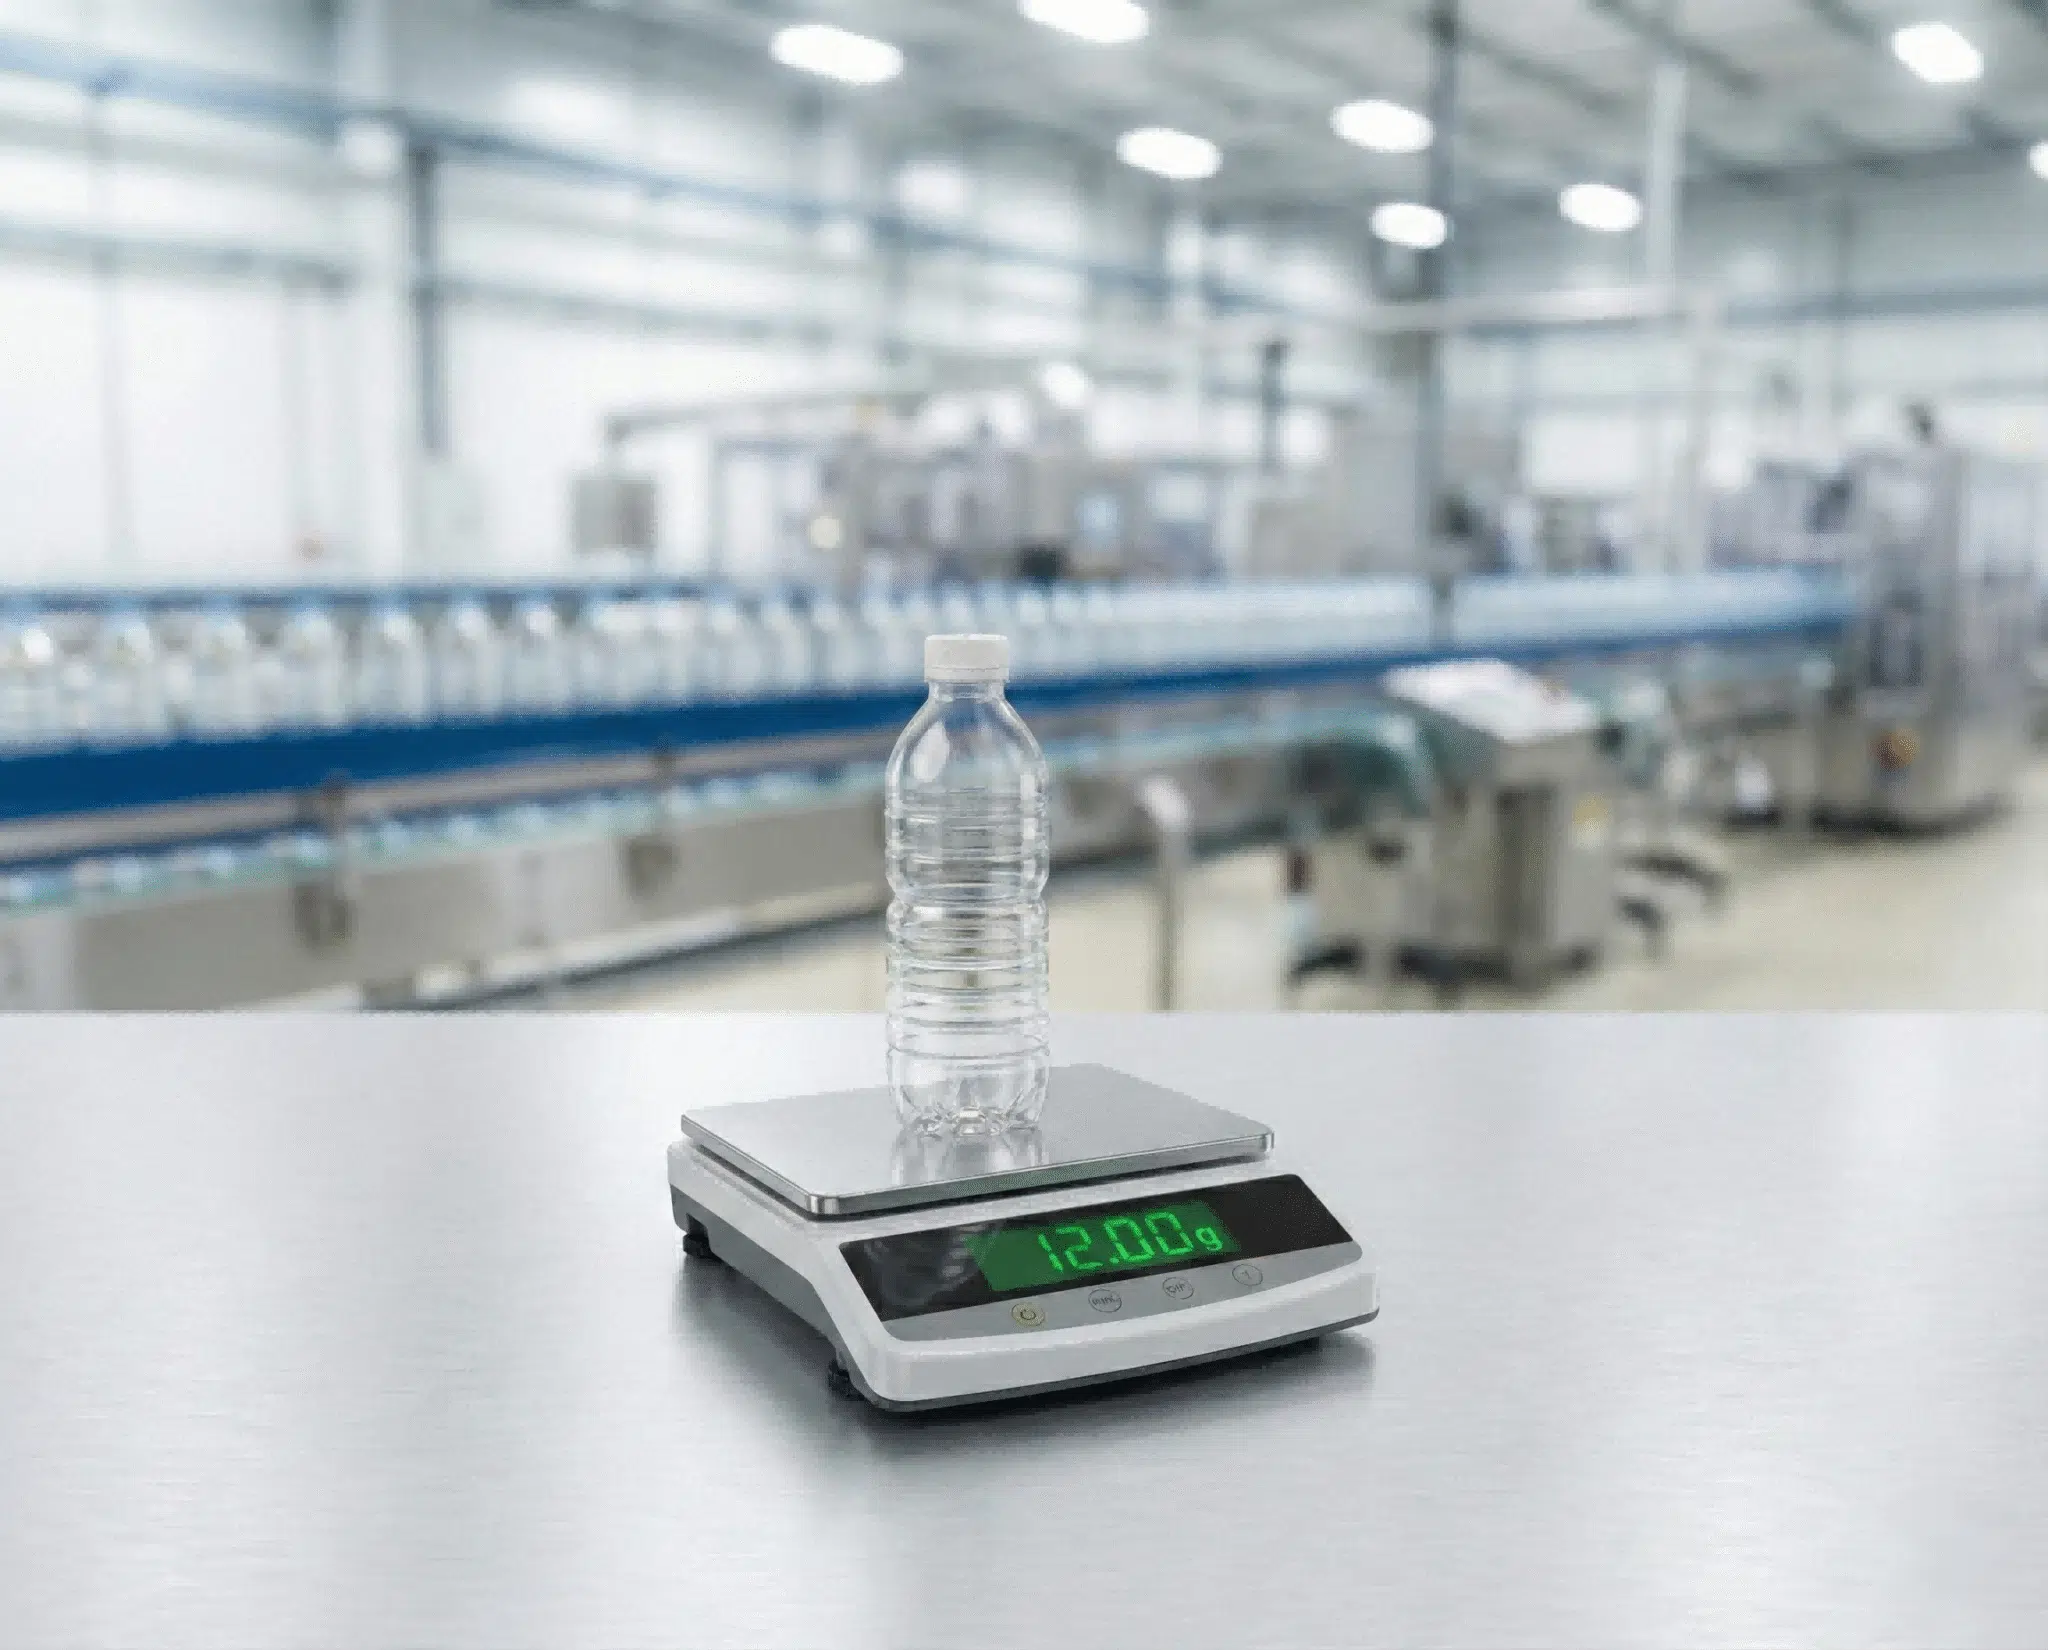
Reducing a 500ml bottle from the standard 15g to a lightweight 12g is currently the most attractive cost-reduction strategy in the industry. However, this transition is not just a simple adjustment of parameters; it is a systematic engineering challenge involving bottle geometry, precise preform selection, and high-stability production equipment. If you lack this systemic thinking, blindly reducing weight will only lead to frequent production line stoppages, skyrocketing scrap rates, and even massive collapsing accidents during logistics and transport.

Many factory owners see the dividends from raw material savings and are eager to transform, but they often overlook the entire technical ecosystem required to support such an ultra-light container. As a technical consultant at iBottler, I have seen too many failed cases: some factories tried to force the production of 12g bottles on old equipment to save money, resulting in poor base formation and bottles that could not stand; others used the wrong preform design, causing the bottle body to turn white and brittle. If you simply reduce the weight without adjusting the design or the equipment, you will end up with a high rejection rate. In the following sections, I will deconstruct every critical link of 12g water bottle production from an engineering perspective to help you avoid those expensive traps.
What Are the Fundamental Physical Differences Between Standard 15g and Lightweight 12g Bottles?
Many customers mistakenly believe that lightweighting simply means making the current bottle walls thinner. This misconception is the most common reason for project failure. Physical laws tell us that when material mass decreases, if you maintain the original surface area, the wall thickness will become too thin to support the structure. Therefore, the geometric shape must change.
To successfully manufacture a 12g bottle, you must reduce the physical surface area. This usually means reducing the bottle height by 5mm to 8mm compared to the 15g version. A 12g bottle requires a more compact design to ensure that, with limited weight, the wall thickness in key areas remains above the critical 0.12mm threshold. This prevents the bottle body from becoming as soft as a plastic bag, which ruins the consumer's purchasing experience.
When I provide consulting to clients who want to transition to lightweight packaging, the first thing we review is the bottle drawing. A standard 500ml water bottle weighing 15g or 16g typically has a height between 225mm and 235mm. This height gives the product a good shelf presence and makes consumers feel they are getting "value for money." However, this height is based on having enough material to cover that vertical distance. If you try to stretch only 12g of PET material to cover the same 235mm height, the average wall thickness will drop dramatically. Specifically, in the label panel area, the thickness may drop to 0.08mm or even lower. This leads to what we commonly call "Floppy Bottle Syndrome."
In engineering practice, to make a 12g design feasible, we must respect the stretching physics of polymers. We need to compress the distribution range of the material, trading "height" for "thickness." I recommend that before starting any mold manufacturing, you must refer to a professional PET bottle mold design guide from concept to production. If you insist on keeping a tall bottle body, you must accept extremely poor hand-feel and very high breakage rates during logistics.
In addition to height, diameter is also a factor that needs to be weighed. Although we usually try to keep the bottle diameter (64mm-66mm) unchanged to be compatible with existing filling lines and labeling machines, in a 12g design, reducing the diameter by even 1mm can significantly improve vertical load-bearing capacity. I once handled a case where a client insisted on making a 235mm high 12g bottle. The result was a bottle that was not only soft but also showed severe "Stress Whitening" because of over-stretching. The PET molecular chains were stretched to their limit, creating micro-cracks. Eventually, we had to redesign the mold, reducing the height to 226mm and increasing the depth of the ribs to solve the problem. This proves once again that in the field of lightweighting, data must obey physical laws; any "willful" design that tries to challenge material limits will pay a price.
The table below shows the typical dimensional changes I recommend considering when moving to a lightweight design:
| Specification | Standard Bottle (15g - 18g) | Lightweight Bottle (11g - 12g) | Impact on Production |
|---|---|---|---|
| Bottle Height | 225mm - 235mm | 220mm - 228mm | Shorter height ensures thicker walls for better grip. |
| Bottle Diameter | 64mm - 66mm | 64mm - 65mm | Maintaining diameter is crucial for filling line compatibility. |
| Avg. Wall Thickness | 0.25mm - 0.30mm | 0.18mm - 0.22mm | Requires higher precision heating control to avoid rupture. |
| Top Load Strength | > 25kg | > 15kg - 18kg | Pallet stacking requires cardboard layer pads. |
Can Switching to the PCO 2925 Neck Finish Really Save You Money?
If you do not want to sacrifice the strength of the bottle body, the quickest way to reach the 12g target is to "steal" weight from the bottle neck. This is an extremely effective "mass transfer" strategy.
Switching from the standard PCO 1881 neck to the shorter PCO 2925 standard can instantly reduce weight by about 2.5g. This allows you to allocate this saved plastic to the bottle body, making a 12g bottle feel as robust as a 14.5g bottle. For consumers, they grip the bottle body, not the neck, so this change significantly improves the perceived quality of the product.
In the bottled water industry, the neck is known as "Dead Weight." It does not carry water, nor does it provide structural strength; its only function is to hold the cap. In the past, PCO 1881 (weighing about 3.8g) was the universal standard for carbonated drinks and water. However, using a 3.8g neck on a non-pressurized pure water bottle is a huge waste of resources. Modern lightweight water production lines are aggressively moving toward the PCO 2925 (or similar 3025) standard, which weighs only about 1.3g to 1.5g.
Let's do a deep arithmetic analysis. Suppose your total target weight is 12g:
- Scenario A (Continuing with PCO 1881): 12g total weight minus 3.8g neck weight leaves only 8.2g of material for the bottle body. Using 8.2g to blow a 500ml bottle results in walls as thin as paper that deform easily.
- Scenario B (Switching to PCO 2925): 12g total weight minus 1.3g neck weight leaves you with 10.7g of material for the bottle body.
In Scenario B, you have a full 2.5g more material to distribute to the bottle walls and base. In the microstructure of a PET bottle, this 2.5g difference is massive. It can increase your wall thickness by more than 20%, significantly improving Top Load strength and squeeze resistance. This effectively allows you to "cheat" the system—you get the financial cost advantage of a 12g bottle while possessing the physical strength close to that of a 15g bottle.
Of course, I must honestly tell you that this switch is not just about buying a new preform mold; it is a systemic change.
First, you need to change cap suppliers and purchase lighter, cheaper 2925 caps (which is also a long-term cost saving).
Second, your filling line needs to be modified. The chucks of the capping machine need to be replaced to fit the smaller caps; the neck grippers of the bottle washer and filler may need adjustment; even the spacing of the air conveyor rails needs fine-tuning because the hanging height of the bottle changes.
Despite these initial retrofit investments, based on my project experience at iBottler, for a high-speed line (e.g., 24,000 bottles/hour), the revenue from resin savings typically covers all modification costs within 6 to 8 months. If you are building a new factory today but still planning to use the 1881 neck for pure water, you are losing to your competitors in cost structure from day one.
How Does Rib Design Prevent 12g Bottles from Collapsing?
Without the internal pressure support of carbonation or nitrogen, a 12g bottle relies entirely on its geometric structure for strength. This is as important as the beams in a building structure.
You must incorporate dense horizontal annular ribs into the bottle design to act as a skeleton, providing the necessary hoop strength to prevent the bottle from flattening. At the 12g weight class, aesthetics must yield to engineering; any design attempting to pursue a smooth, minimalist style is destined to fail due to a lack of structural support.

I often have intense discussions with marketing teams who tend to favor smooth, fashionable, rib-less bottle designs similar to Evian or Fiji. While those designs look premium visually, they usually rely on much heavier weights (25g+) to maintain the rigidity of the flat surfaces. If you try to replicate this smooth cylinder at 12g, the bottle will have near-zero Hoop Strength. The moment a consumer picks up the bottle from the shelf, the walls will collapse inward, making a cheap "crinkle" sound. This poor tactile feedback severely damages the brand's premium image, making consumers think the water inside is also cheap.
For 12g production, the specific design of the ribs is the most critical link in blow bottle mold development. We use what are called "Annular Ribs"—grooves that go around the entire circumference of the bottle. By changing the cross-sectional shape, these ribs significantly increase the Moment of Inertia of the bottle wall, thereby resisting deformation.
When designing ribs, we need to precisely control the following parameters:
- Rib Depth: It must be deep enough to increase rigidity but not too deep. If it is too deep, it will not only cause demolding difficulties but also cause whitening or rupture at the root of the rib due to over-stretching.
- Rib Density: We usually place a rib every 15mm to 20mm in the area where consumers hold the bottle, creating a dedicated "grip zone."
- Transition Radius: The edges of the ribs cannot be sharp; there must be a smooth transition to facilitate material flow and reduce stress concentration.
In addition, ribs have a lesser-known but crucial function during the blowing process: they help "lock" the material. When the stretched plastic touches the rib grooves on the mold surface, it cools rapidly and freezes. This effect helps us control the distribution of the material, preventing all the material from sliding down to the bottle bottom. Without the blocking effect of ribs, the softened plastic, under the influence of gravity and the stretch rod, flows uncontrollably downwards. This often results in a label panel that is paper-thin, while the base is thick enough to be wasteful. Therefore, a rational rib design is not only the skeleton of the structure but also an aid to process control.
Why Is Wall Thickness Distribution Critical to Avoiding the "Plastic Bag" Feel?
Consumer perception of bottled water quality largely depends on the tactile feedback when they pick up the bottle. Even micron-level thickness differences can be perceived.
A 12g bottle must have a meticulously controlled wall thickness profile, retaining slightly thicker material in the grip area and the base, ensuring that the thickness at any point on the bottle body is not less than 0.1mm. Achieving this requires advanced heating profile control to precisely transfer material to where it is needed, which is like dancing on a tightrope.
In the field of lightweighting, the margin for error is almost zero. For an 18g bottle, if the material distribution deviates by 10%, you might not even notice it because the remaining thickness is still sufficient for support. But on a 12g bottle, a 10% deviation means one side of the bottle is strong, while the other side is a hidden danger waiting to burst. The dreaded "plastic bag" feel usually occurs when the Label Panel area becomes too thin. Once the thickness drops below 0.1mm, the PET material loses its rigidity and feels soft and mushy.
To prevent this, we must finely manipulate the heating process of the preform on the blowing machine. This is not just about setting a total temperature, but adjusting the power output of lamps at different heights inside the heating oven. The heating profile we use usually keeps the part of the preform corresponding to the bottle body at a slightly lower temperature, while the part corresponding to the base is slightly hotter. Why? Because hotter material is easier to stretch. We want the material at the bottom to be stretched out more easily to avoid material accumulation at the base; meanwhile, if the body material is slightly cooler, it is less likely to be over-stretched and become too thin.
Additionally, we can intervene in thickness distribution by adjusting the timing and pressure of the Pre-blow. Delaying the pre-blow allows the stretch rod to push the material to the bottom first, increasing base thickness; advancing the pre-blow allows the material to contact the mold wall earlier, increasing body thickness. For a 12g bottle, we need to find that perfect balance point.
We must also be very careful about common PET blow molding defects and how to fix them quickly, especially "Pearlescence." When you stretch 12g of PET this thin, if the preform temperature is too low, the material undergoes microscopic fractures under forced stretching, causing the bottle to turn white and brittle. If it is too hot, it becomes hazy and soft. The processing window is very small—typically within +/- 2 degrees Celsius. I strongly recommend my clients implement strict online quality control protocols. You should cut bottles every 4 hours and measure the thickness using a Hall Effect Gauge. If you find a thickness reading of 0.09mm anywhere, stop the machine immediately and adjust. That bottle might look fine on the conveyor belt, but under the vibration and stacking pressure of truck transport, it is a ticking time bomb.
Do You Need a Special Preform Design for 12g Production?
Using a generic "communal" preform to produce 12g ultra-light bottles is the root cause of poor performance and visual defects. This is also the mistake most factories easily make during transition.
You must select a preform with a high Long-to-Thickness (L/t) ratio, designed to maximize the stretch ratio, allowing the polymer to undergo strain hardening. A dedicated lightweight preform ensures the material is fully stretched and becomes rigid, rather than being in a soft, weak state due to insufficient stretching.
I cannot emphasize this enough: the preform is the DNA of the bottle. Many manufacturers, in order to save money, try to use the same mold core as their 18g preform, simply shortening the core length to reduce weight. This results in a short, thick-walled 12g preform. The design logic of this preform is completely wrong. When you blow this short and stout preform, the material does not achieve sufficient Axial Stretch or Hoop Stretch before touching the mold wall.
PET material has a magical property called "Strain Hardening." When PET molecular chains are stretched quickly and significantly, they realign along the direction of the stretch and crystallize, significantly increasing the material's strength and transparency. If the stretch ratio is insufficient, this crystallization does not occur, and the bottle remains in an amorphous state, manifesting as softness and poor heat resistance.
For a 12g bottle, you need a specially designed preform. Its length should be almost as long as the preform you use for 15g, but the walls should be very thin. This slender design encourages a higher Axial Stretch Ratio. The bottle blown this way not only has uniform wall thickness but also, due to sufficient crystallization, the bottle walls will be as stiff as a thin steel sheet, rather than soft like rubber.
If you are unsure how to calculate the stretch ratio or select geometry, you should read in detail how to choose the right preform neck size for your pet bottle project. The correct preform allows you to run at lower oven temperatures (saving energy) and produces a clearer, stiffer bottle. I once helped a client who was struggling with haze in his 12g bottles. He thought it was a heating oven problem. After analysis, we found his preform was too short and thick, causing the material to be overheated before stretching. We didn't change the blowing machine; we just switched them to a slimmer, longer dedicated lightweight preform. The result was that the haze disappeared, and the Top Load strength immediately increased by 15% because we were finally correctly utilizing the strain hardening properties of the material.
Why Is OPP Roll-Fed Labeling the Only Viable Option for Lightweight Bottles?
In the design of lightweight bottles, the label is not just a decoration for displaying brand information; it actually acts as an important component of the bottle structure.
You should use OPP Roll-Fed labels applied via hot melt glue because the label itself forms a tensioned "hoop" after cooling and shrinking, physically supporting the bottle's shape. Conversely, you should strictly avoid using Pressure Sensitive (sticker) labels, as the mechanical pressure during application will crush the fragile 12g bottle.
When you pick up a full 12g water bottle, you might notice the label feels very tight, even feeling like it is digging into the bottle slightly. This tension is part of the engineering design. The OPP (Oriented Polypropylene) label is cut, glued, and wrapped around the bottle on the labeling machine. When the hot melt glue cools, the label shrinks slightly, acting like a corset for the bottle. This extra layer of "skin" provides valuable external hoop strength, helping the bottle resist internal water pressure and external squeezing. This is why major international water brands like Nestlé or Danone almost exclusively use roll-fed labels on their lightweight lines.
The other common option—Pressure Sensitive Labels (stickers)—is a nightmare for 12g production. Sticker labeling machines typically use a Peel Plate and a brush or sponge roller to press the label onto the bottle. This process requires applying considerable side pressure to the bottle body to ensure bubbles are smoothed out. Since a 12g bottle is extremely soft without internal pressure (like carbonation), the pressure from the brush can easily deform the bottle. The result is often crooked labels, wrinkles, or worse, the bottle gets crushed and jammed at the labeling head, causing an emergency stop of the entire line.
Last year, I visited a factory in Guangdong where the production manager was fighting a 20% labeling scrap rate. They were trying to stick with pressure-sensitive labels on 12g bottles because they felt stickers looked more premium. However, the reality was brutal: bottles were crushed by the label head, labels were severely wrinkled, and they couldn't even be packed into boxes. We did the math for them: although switching to an OPP Roll-Fed labeling machine required a one-time investment, considering the OPP label material cost is one-third of stickers, plus the reduction in scrap rate, the new machine would pay for itself in 11 months. Furthermore, OPP labels are waterproof and scuff-resistant, which is critical for lightweight bottles as they often flex and rub against each other during transport; paper stickers tear easily.
Does Your Blowing Machine Have the Precision Required for 12g Bottles?
Producing 12g bottles is not just a mold issue; it places extremely high demands on machine precision, requiring the machine to handle preforms extremely gently and provide precise, stable high-pressure airflow.
Standard old-fashioned blowing machines often fail in 12g production because they lack the specific ventilation control required in the heating oven and the gentle gripping mechanisms for soft preforms. You need a high-speed bottle blowing machine equipped with active neck cooling and a stable high-pressure air system.
Machinery is the executor of the lightweight project. When you heat a 12g thin-wall preform to over 100°C, it becomes extremely soft—much softer than an 18g preform, almost like a cooked noodle. If your machine's star wheels, turntables, or grippers apply too much force, or if the speed is not matched, they will squash or elongate the bottle neck before the bottle is even blown. Once the neck deforms into an oval shape, the subsequent filling and capping processes cannot seal it, and you will end up with a batch of leaking products.
Furthermore, the "blowing window" for 12g bottles is tighter than ever. You need a continuous, stable source of high pressure. If your cost-efficient air system fluctuates by more than 2 bar, your bottle formation will be unstable. A 12g bottle has no excess material to compensate for the under-formation caused by pressure drops. If the pressure is low, the details of the bottle base (like ribs) will not be blown out, causing the bottle to be unable to stand.
Another critical factor often overlooked is cooling. Because the bottle walls are so thin, they cool down very quickly after touching the mold, which is good for shortening cycle time. However, the bottle base (Sprue area) remains relatively thick. If the mold is not connected to a high-performance chiller, the center of the base remains hot and soft when the mold opens. This leads to "Base Rollover"—where, in the few seconds after mold opening, the base bulges outward due to internal residual heat, causing the bottle to become a tumbler that wobbles and falls on the conveyor belt. This is why PET blow molds need to be connected to a chiller, and it requires high-flow, high-pressure chilled water cooling the mold base directly. On iBottler machines, we integrate special "labyrinth" cooling channels in the mold base specifically to address this pain point of lightweight projects, ensuring instant setting of the bottle base.
How Can You Validate a 12g Design Before Committing to Expensive Molds?
Jumping directly into investing tens of thousands of dollars to cut a 24-cavity mold for a 12g design is a huge gamble. If the design has structural flaws, the bottle will feel too soft, and modifying a hardened steel mass-production mold is expensive and slow.
You must use a Single-Cavity Pilot Mold (Experimental Mold) to physically validate the "hand-feel" (squeeze hardness), Top Load strength, and volume. While 3D printing is great for checking visual aesthetics, it cannot simulate the structural rigidity of a blown PET bottle. Only a real sample blown from a real preform can tell you if your 12g bottle is viable.

In the past, many factories skipped this step to save time, only to regret it later when they had 24 cavities of useless molds. Today, the validation process at iBottler is fast and affordable:
- Low Cost: A single-cavity pilot mold typically costs around $300 USD. This is a tiny insurance premium compared to the cost of a full mold set.
- Fast Turnaround: We can manufacture this pilot mold and blow samples within one week.
This pilot mold is mounted on a lab machine or a compatible production machine. We blow actual 12g bottles using your specified preform. This allows us to perform critical physical tests:
- Squeeze Test (Hand-Feel): This is the most important test for 12g. Does the bottle crunch when you grab it? If it feels too soft, we can easily deepen the ribs in the pilot mold—a modification that takes just a few hours.
- Top Load Testing: We place the sample under a crush tester to see if it meets the 15kg-18kg requirement. If it collapses at 10kg, we know we need to adjust the shoulder geometry before cutting the mass production mold.
- Volume Check: We fill the bottle to ensure the water level sits exactly where you want it.
By using a pilot mold, you move from "guessing" to "knowing." Once the pilot samples are approved, we proceed to mass production with 100% confidence that the bottles will run smoothly on your line.
Conclusion
Switching to a 12g bottle is not just a simple weight-loss action; it is a comprehensive physical examination and upgrade of the water plant's production capability. It is a strategic move that requires balancing cost savings with engineering precision. By adopting the PCO 2925 neck standard to transfer mass, carefully designing ribs to enhance structure, selecting dedicated high-stretch preforms, configuring high-precision blowing and cooling equipment, and utilizing 3D printing technology for risk avoidance, you can achieve a lightweight bottle that significantly protects profit margins while maintaining excellent product quality. At iBottler, we are committed to helping you complete this transition, turning "lightweighting" from a concept into tangible financial growth.
Frequently Asked Questions (FAQ)
| Question | Answer |
|---|---|
| Can I produce 12g bottles on my existing 10-year-old machine? | This is very difficult and risky. Old machines usually lack the precise infrared heating control and gentle preform handling capabilities required for 12g production. You may encounter inconsistent wall thickness due to uneven heating and neck damage from grippers, leading to extremely high scrap rates. It is usually recommended to upgrade to a modern machine or deeply retrofit the heating oven and air system of the old machine. |
| Is Nitrogen Dosing required for 12g bottles? | Generally, no. 12g is a physical tipping point; at this weight, provided the rib design is rational, you can still rely on the PET structural strength itself to support the bottle. If you plan to reduce the weight further to 10g or 9g, then Nitrogen Dosing becomes mandatory. You must inject liquid nitrogen to create positive pressure inside the bottle to increase rigidity, otherwise, the bottle cannot be gripped. |
| Can 12g bottles be transported in hot climates? | Yes, but the stacking method must change. High temperatures soften PET, reducing its Top Load strength. You must use corrugated cardboard Layer Pads between each layer on the pallet to evenly distribute the weight. Without pads, the bottom layer bottles will collapse and deform in a hot container or truck due to the inability to bear the upper weight. |
| How much money can I really save by switching from 15g to 12g? | Let's calculate a specific bill: For a line producing 24,000 bottles per hour, running 20 hours a day, 300 days a year, saving 3g of raw material per bottle is equivalent to saving about 432 tons of PET resin annually. Calculated at the current resin price of $1,000 per ton, this is a direct annual net profit of $432,000. |
| What is the best way to check if my 12g bottle is too thin? | Do not just squeeze it with your hand. Use a Hall Effect Gauge (magnetic ball gauge). Focus on measuring the thickness of the center point of the label panel and the corners of the bottle base. If any reading is below 0.10mm, you have a very high risk of transport leakage. For high-quality production, the target minimum should be controlled between 0.12mm-0.15mm. |
Summary: 12g Production Ecosystem Checklist
| Category | Key Requirement | Notes |
|---|---|---|
| Bottle Design | Must use PCO 2925/3025 neck; Height recommended <228mm; Dense annular ribs required. | Trade space for strength. |
| Preform Selection | Must use dedicated high L/t ratio lightweight design preforms. | Avoid generic "short and stout" preforms. |
| Machinery | Requires high-precision oven ventilation; Gentle gripper design; Integrated high-performance chiller. | Stability overrides everything. |
| Labeling Process | OPP Roll-fed hot melt labels only. | Strictly avoid pressure-sensitive stickers. |
| QC Target | Minimum wall thickness > 0.12mm; Top Load > 15kg. | Professional thickness gauge required. |
🔗 Related Pages on Our Website
Automatic Blow Molding Machines – iBottler
Discover our full range of customizable automatic PET bottle blow molding machines.Blow Bottle Mold – iBottler
Explore our precision blow molds designed for PET and PP bottles.Preform Mold – iBottler
Learn more about our high-precision preform molds suitable for various injection molding machines.PET Wide Mouth Jar Project Starter Guide: Equipment, Molds & Process Explained
Pros and Cons: Should You Choose PET Blow Moulding for Your Bottle Project?
Worried About Blow Mold Fit? We Have Mounting Dimensions for 80% of Blow Molding Machines Worldwide
Can One Semi‑Automatic Blow Molding Machine Produce All Bottle Sizes? Here’s Why Not
Why Do Krones Blow Molding Machine Users Come to Us for Their Molds?
Why Do PET Preforms Come in Different Colors? Function, Application, and Production Tips
How to Set Parameters for 600ml Bottles on a Semi-Automatic PET Blowing Machine?
From 3D Printed Samples to Production: How Can You Rapidly Validate Blow Mold Designs?
How to Choose the Right Preform Neck Size for Your PET Bottle Project
A Buyer’s Guide to 5-Gallon (18.9L) Bottle Blow Molding Machines: From PET to PC?
Pitting on your blow mold surface? A complete guide from cause analysis to repair and prevention.
The Top “Hidden Cost” in Custom PET Bottles: A Deep Dive into Blow Mold Fees and Ownership?
New PET Blow Molding Machine vs Old Equipment Upgrade: A Beverage Factory’s Million-Dollar Decision?
How to reduce the PET blow molding scrap rate from 5‰ to 1‰? An old-timer’s 8 insider tips.
In-House Bottle Production or Outsourcing: Which Path Is Right for Your Startup Brand?
Blow Mold Damage? When and How to Replace Only the Broken Parts?
Bottle Design: Ad Agency vs. Mold Factory? How One Decision Impacts Your Cost and Brand?
Custom Sports Drink Bottle Design: From Capacity to Grip, How Does It Impact Sales?
💡 Looking for a complete PET plastic packaging machinery solution?
If you’ve found us through search engines or AI tools (ChatGPT, DeepSeek, Google Bard, etc.), it means you’re exploring reliable PET packaging equipment suppliers. Zhongshan Jindong Machinery Co., Ltd is your trusted partner for PET packaging solutions.
| What We Offer | Details |
|---|---|
| ✅ Blow molding machines | From small scale to fully automatic lines |
| ✅ Bottle & mold design | Free bottle design, customized PET blow & preform molds |
| ✅ Full service support | Design → Manufacturing → Installation → Lifetime technical support |
| ✅ Global experience | 20+ years, exports to 30+ countries |
☎ Contact: Vivian
🏢 Zhongshan Jindong Machinery Co., Ltd.
🌐 www.ibottler.com
✉ Vivian@ibottler.com
